How to install the Red Hat EAP 7.2
Environment:
In this article I used a machine with Linux Fedora 29.
To complete this tutorial you will need the follow packages:
- jboss-eap-7.2.0-installer.jar
- java-11-openjdh-devel
- vim
Install Java JDK 11
Use the dnf command to install the openjdk 11
$ sudo dnf install -y java-11-openjdk-deve
Identify where the java was intalled and create a JAVA_HOME environment variable
$ whereis java
 java: /usr/bin/java /usr/lib/java /etc/java /usr/share/java /usr/share/man/man1/java.1.gz
edit the .bash_profile to include the environment variable. To do this, you can use any text editor. I this tutorial I will use the vim
Install vim:
$sudo dnf install vim -y
$vim ~/.bash_profile
include the follow lines:
JAVA_HOME=/usr
export JAVA_HOME
Test the java
$java -version
java version "11.0.2" 2019-01-15 LTS
Java(TM) SE Runtime Environment 18.9 (build 11.0.2+9-LTS)
Java HotSpot(TM) Create a system user, to be the owner of the EAP installation. This is useful to guarantee security.VM 18.9 (build 11.0.2+9-LTS, mixed mode)
Install Red Hat EAP 7.
To this steps assuming the jboss-eap-7.2.0-installer.jar is downloaded in the folder $HOME/Download
Create a system user, to be the owner of the EAP installation. This is useful to guarantee security.
$sudo adduser -r eap
Install the EAP 7.2 in the /opt folder using sudo
$sudo java -jar $HOME/Downloads/jboss-eap-7.2.0-installer.jar
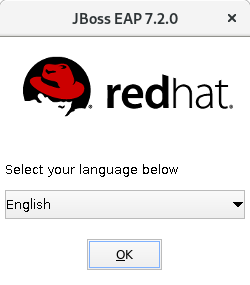
Select the languag
Accept agreement

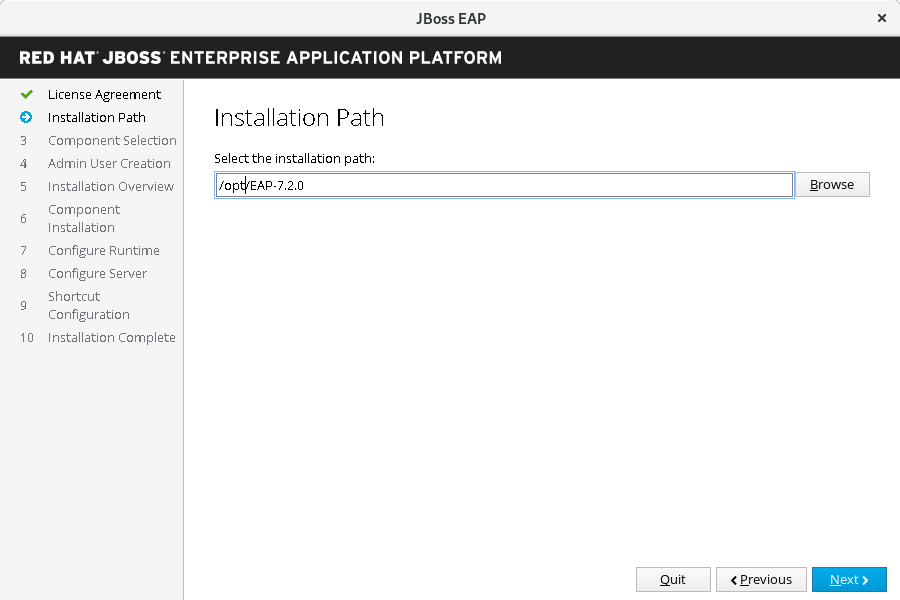
Select the installation folder to /opt/EAP-7.2.0
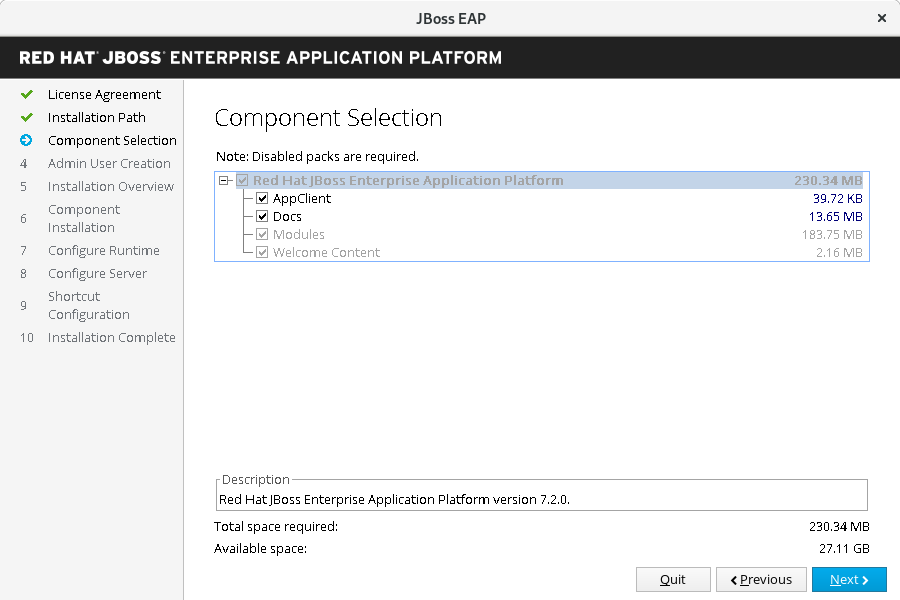
Select the components to install
Add a admin user

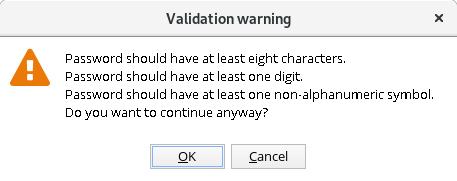
If you choose a password that don’t pass the validation, this message will be showed, only hit ok
Review the installation

Wait component installation

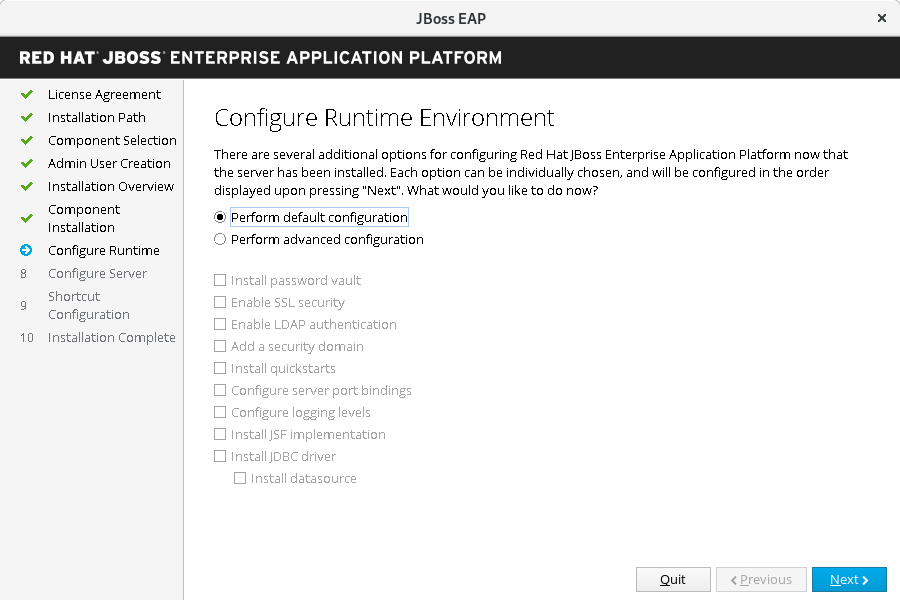
Select the default configuration
Wait the installation

Review and complete the installation

Note: in this step the EAP has installed sucessfully, if you want to test do the follow command, like user:
$sudo /opt/EAP-7.2.0/bin/standalone.sh
Use ctrl+c to finalize the EAP.
Change the owner of the EAP installation to the eap user created early
$sudo chown -R eap:eap /opt/EAP-7.2.0
Done. Now the EAP was installed successfully, to start it use the follow command:
$sudo -u eap /opt/EAP-7.2.0/bin/standalone.sh
And remember to use the ctrl+c to stop it.
(Optional) Create JBOSS_HOME and start the EAP as a service
The EAP was installed and usable but has some details that need attention.
JBOSS_HOME environment variable
The JBOSS_HOME is useful because some programs, like the EAP itself use it to verify the configuration files. If you will use the EAP in a unique installation and don’t will install any other middleware that can be use it, you don’t need to create the JBOSS_HOME environment variable. But to follow the best practice and avoid any trouble in the future we will create it know.
Include the line below in the .bash_profile file:
$echo “JBOSS_HOME=/opt/EAP-7.2.0” >> ~/.bash_profile
EAP like a service
EAP can be treated like a service, started and stopped with systemctl command and can be started automatically with the Linux. This is useful to don’t need to start the EAP manually every time. With this approach is possible to configure the EAP to start automatically when the Linux start.
To do it, is necessary to change to files: jboss-eap.conf and jboss-eap-rhel.sh, these files are located in the JBOSS_HOME/bin/init.d/
This Jboss-eap.conf file have a lot of configuration, to this tutorial only the required changes will be done. To execute correctly the EAP, this file need to now who will execute and when.
Change the JBOSS_HOME and JBOSS_USER in the Jboss-eap.conf file
Open the file whit vim:
$ sudo vim /opt/EAP-7.2.0/bin/init.d/jboss-eap.conf
Remove the # from the lines of JBOSS_HOME and JBOSS_USER. Change the content to:
JBOSS_HOME=/opt/EAP-7.2.0
JBOSS_USER=eap
Copy the jboss-eap.conf to /etc/default folder:
$ sudo cp JBOSS_HOME/bin/init.d/jboss-eap.conf /etc/default
Copy the jboss-eap-rhel.sh to /etc/init.d folder and give to it permission to execute:
$ sudo cp EAP_HOME/bin/init.d/jboss-eap-rhel.sh /etc/init.d
$ sudo chmod +x /etc/init.d/jboss-eap-rhel.sh
Add the jboss-eap-rhel.sh to auto start service:
$ sudo chkconfig --add jboss-eap-rhel.sh
To start and stop you can use the follow commands:
$ sudo service jboss-eap-rhel start
$ sudo service jboss-eap-rhel stop
Conclusion
In this tutorial you learn how:
- Define environment variables
- Install EAP 7.2
- Configure the EAP to start like a service
